


Renovating your home is one of the most worthwhile investments you can make. If you are a homeowner interested in enhancing your home without embarking on a large home renovation project, consider crown moulding installation.
Trim Team offers top-notch crown moulding and specializes in transforming an ordinary room into a spectacular one. Our seasoned contractors have over 10 years of experience in crown moulding installation and constantly keep up with market trends and techniques. Our valued customers have trusted us over the years to provide quality work and exceptional customer service
When you tell us your crown moulding ideas, we’re keen to hear them out and explore various possibilities to develop them into thoughtful designs that will give your home the upgrade it needs. By adhering to the highest standards of quality, we are confident that we are providing our customers with the very best service.
Benefits of Crown Moulding Installation

- Quicker installation time. This is one of the leading reasons why our customers prefer crown moulding. The installation process is quick and easy and we offer same-day crown moulding installation on most of our projects.
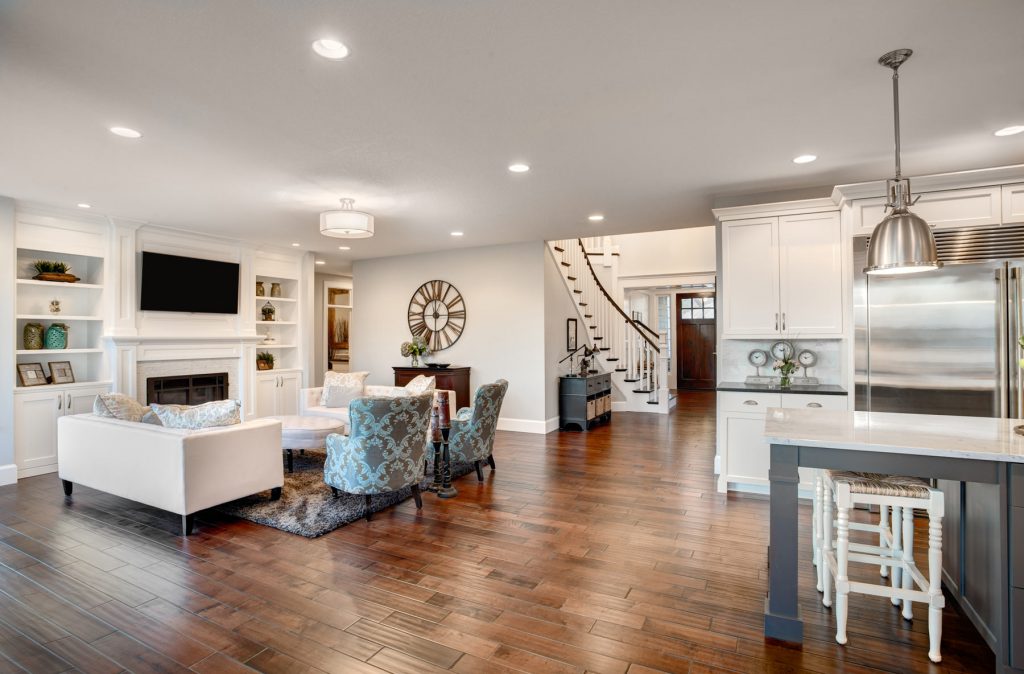
- Long-lasting product. When done right, crown moulding can last a lifetime. This is because the moulding material we use is made of medium-density fibreboard (MDF) or hig2ood, which is durable.
- Versatility. The design options we offer are endless, making it easy to find something for everyone. We also have a large crown moulding size selection for you to choose from, ensuring a perfect fit for any home.


What Makes Our Moulding Installation & Trim Installation Work Different
If you are in search of exceptional precision and craftsmanship, there is simply no better choice than us when it comes to crown moulding installation. Our highly-trained contractors have years of experience and know-how to cut crown moulding for a snug and perfect fit. And because we do not cut the mouldings inside your home, you do not have to worry about cleaning up a huge mess when all is said and done.

The crown moulding experts at Trim Team are dedicated to every project we take on. We take great pride in the body of work we have compiled over the years which ranges from simple to complex designs. Trust us to handle your crown installation project with great care. Call us at (437) 980-4353 to find out more about our service or to schedule your free consultation!
We served customers all across the GTA including Toronto, North York, Etobicoke, Scarborough, Vaughan, Markham, Richmond Hill, Woodbridge, King City, Aurora, Newmarket, Mississauga, Brampton, Milton, Oakville, Burlington, Ajax, Pickering, Whitby, Stouffville, Georgina, Bradford, Barrie and more.
Call Trim Team for a free design consultation.

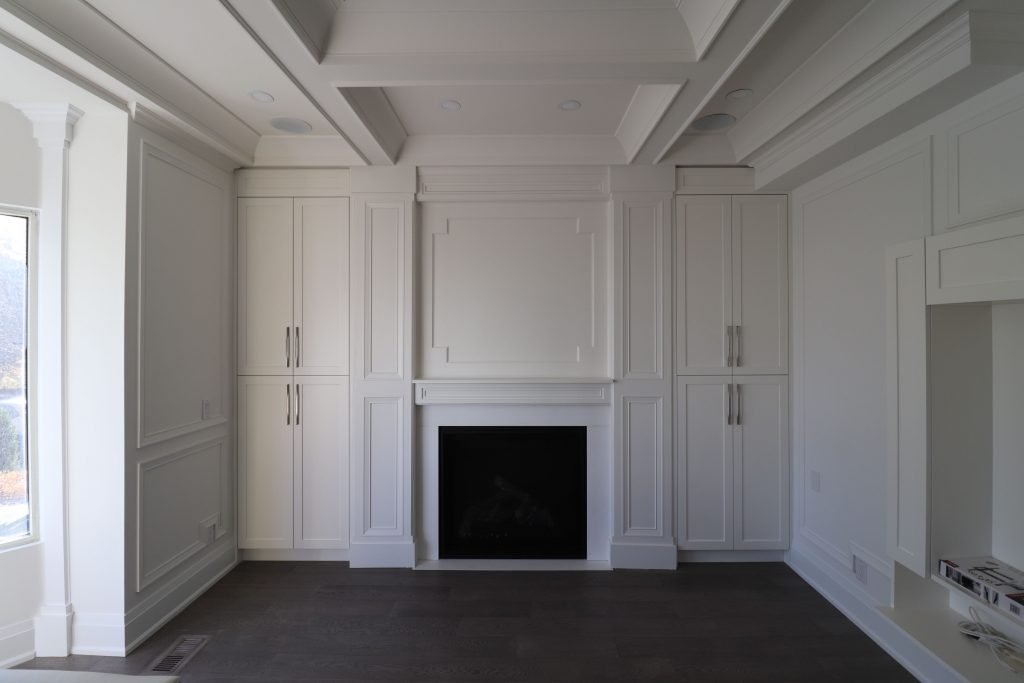
Crown Molding Installation Process

A simple way to incorporate depth and character into your walls is to install crown moulding. You can update the look of any room in your home with crown moulding, and it’s also an affordable option. These are all the steps we take to install crown moulding.
Plan the Installation
Our team begins with careful planning before we start installing the crown moulding. First, we determine which crown moulding is the best to use in the space. There are many decorative styles available on the market that we can install. Begin planning on the wall that’s opposite the door. This is the main view of your crown moulding and it should look the best. Then, plan your crown moulding around the rest of the room. The juncture where Wall 1 and Wall 2 will meet should be coped or cut to shape. We follow the same process for the third wall, and the fourth wall is coped at both ends.


Measure the Room and Mark Studs
We will measure the wall from one corner to the next, and draw a faint line to indicate where the bottom of the crown moulding will sit. This ensures that the moulding will be straight.
Then, we use a stud finder to locate the studs and make faint markings on the wall to guide us as we begin inserting the nails.
Measure and Mark Moulding
The moulding is placed against a framing square, and we jot down the distance between the corner and the face of the moulding edge. A piece of lumber is then cut according to the right dimension, and we draw layout lines on the wall and ceiling.
Then, we place the moulding against the wall which is located opposite the door. We keep the moulding in place and mark the locations of the studs. The stud marks are then transferred onto the moulding.

Set Up the Miter Saw
The mitre saw is programmed to cut at 45 degrees in the direction of the angle that is required. We make sure that the ceiling edge is flat on the bottom of the mitre box, and that the wall edge is tight against the fence.
Cut Crown Moulding
We cut the crown moulding according to the space, but this generally includes inside corner cuts, outside corner cuts and scarf joint cuts.
The moulding is cut depending on the joint that will work the best. Mitered joints meet at the corners and create a perfect 90-degree angle. While coped joints are ideal for a corner that isn’t squaring up or is not sitting at a 90-degree angle.


Test and Trim to Fit
We want to ensure that the cuts are snug when placed together. We pay close attention to each piece of moulding as they are cut. Any excess wood is cut with a coping saw.
The coping saw is set at a 45-degree angle so it creates a razor-thin edge for the two mouldings to meet. If any of the pieces do not fit perfectly, we make sure to trim the joint until it fits. High spots are also sanded and filed down to make a tight fit.
Installing Crown Moulding
It’s important to measure the wall one more time before you begin installing the crown moulding. Then, we cut the moulding ⅛ inch longer than when it was measured – the purpose of this is to help push the cope joint closed when the moulding is installed. A square cut is made on the unscoped end of the moulding, and then we put the moulding in place. The moulding is then nailed or glued to the wall and ceiling.

Crown Molding Installation Cost
Crown moulding is an excellent choice if you want to add a touch of elegance to a room. You can choose to install it yourself, but there are many benefits to having a professional install it. However, there are several costs to consider if you want a professional to install the crown moulding. The cost of crown moulding is determined by several factors, including the type of material used, the size of the room, and the complexity of the installation. Crown moulding is typically made from wood, although synthetic materials are also available.
The most common type of crown moulding is made from mitered boards that are attached to the ceiling and wall using finishing nails or adhesive. The cost of crown moulding ranges from $4 to $8 per linear square foot, making it one of the more expensive home improvement projects. However, the average homeowner can expect to spend between $2,000 and $5,000 on crown moulding for their entire home. If you’re interested in installing crown moulding on your kitchen cabinets, you can expect to pay anywhere from $210 to $570 – this all depends on what types of materials are chosen for the kitchen counters.


What is Crown Moulding Made Of?
Crown moulding can be made from many different materials. This includes wood, medium-density fiberboard (MDF), polystyrene moulding, PVC and polyurethane moulding, and plaster crown moulding.
These are the different types of crown moulding:
Wooden Crown Moulding – this type of moulding has many options to choose from and is the most popular form of crown moulding. Some options include paint-grade pine or hardwood material in ash, walnut or oakwood.
Medium-Density Fiberboard (MDF) – this is a lightweight crown moulding option that is also easy to install. It’s made of sawdust and resin and is the ideal option if you want to paint the moulding.
Polystyrene Moulding – an affordable crown moulding option that also happens to be the perfect choice for rental rooms. This may require two or more coats of paint to achieve an even finish.
PVC and Polyurethane Moulding – this option is lightweight and easy to install. It has a long-lasting sheen and does well in areas with high humidity like the bathroom, gym, or steam room.
Plaster Crown Moulding – this is a classic type of crown moulding and is the ideal choice for your forever home.

Crown moulding comes in a variety of sizes, colours, and designs, so you can find the perfect moulding to compliment your room’s style and personal taste. When selecting crown moulding, it is important to consider the scale of the room and the existing decor. For a small room, select a simple design in a light colour to avoid overpowering the space. For a larger room, choose a more detailed design in a bolder colour to make a statement. Crown moulding can be used to accentuate existing features or to create new ones. It is an easy way to transform a plain room into a beautiful and inviting space.
FAQs
Our crown moulding installation charge starts from $8 per linear feet.
We do not use glue during the crown molding installation process thereby eliminating the potential for a large mess. Nevertheless, we lay down newspaper and towels to avoid dirtying your floors and walls and utilize tape for precise insertion. We promise to clean up everything once the installation process is complete.
You have the option to paint once the crown moulding installation is complete.
We use nails to install the crown moulding into the ceiling.
For the best finish, crown moulding should be painted after installation, not before. Though it is easier to prime and paint before installing, you still have to caulk the moulding to the drywall and patch all of the nail holes. This means touch-ups in the middle of semi-gloss paint and doing so leaves blemishes in the finish.